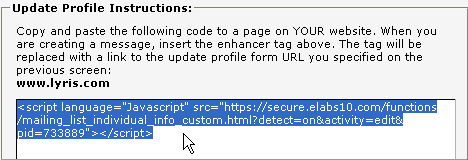
The Update Profile enhancer provides a link to a web page where recipients can update their profile as shown in the following illustration.

Before creating an Update Profile enhancer, you need to create and publish a Landing Page that will include the enhancer HTML code. You will need the URL of the page when creating the enhancer. For information about creating landing pages, see Creating a Landing Page.
1. Follow instructions for creating an enhancer.
2. Follow the instructions on the Form Setup page to provide the required information.
Note: Form URL is the only required field.
3. Click Next.
The Choose Demographics page opens.
4. Select the demographics that you want recipients to update:
4a. In the Available Demographics list, click the demographic you want to add. To select multiple demographics, select each one while holding down the Ctrl key.
4b. Click Add.
5. Click Next.
The Choose Required page opens.
6. Optionally, select the Required checkbox for each demographic that recipients will be required to update.
7. Click Next.
The Style page opens.
8. Optionally, do any of the following:
9. Click Next.
The Update Profile Link page opens.
10. Optionally, change the text of the link that appears in the message:
11. Click Next.
The Preview page opens.
Tip: Click Previous to make any changes.
12. Click Save.
The Get Tag and HTML page opens.
13. Copy the HTML code in the bottom section and paste it to a page that will contain the enhancer.

14. Click Save.
The enhancer is created and the Enhancers page opens. The new enhancer appears in the Enhancers list.
After you create an Update Profile enhancer, you can add it to the message using Lyris HQ. For information about adding an enhancer using Lyris HQ, see Adding Enhancers.
To add the Update Profile enhancer in EmailLabs, see Creating a Message, Part 3: Adding Content and Enhancements.